JC Refrigeration Cooling Unit – Real-World Experience
I walked into the RV, opened the freezer, and immediately smelled ammonia. At that point, I knew exactly what I was dealing with — a leaking absorption cooling unit. Once that smell shows up, there’s really no fixing it.
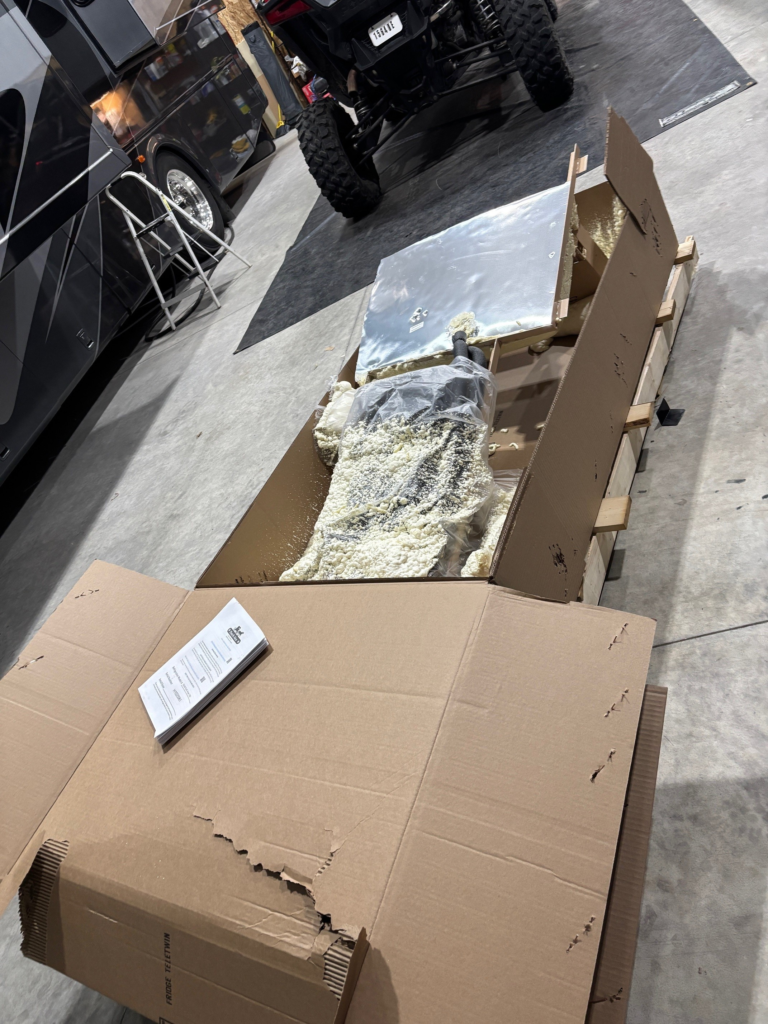
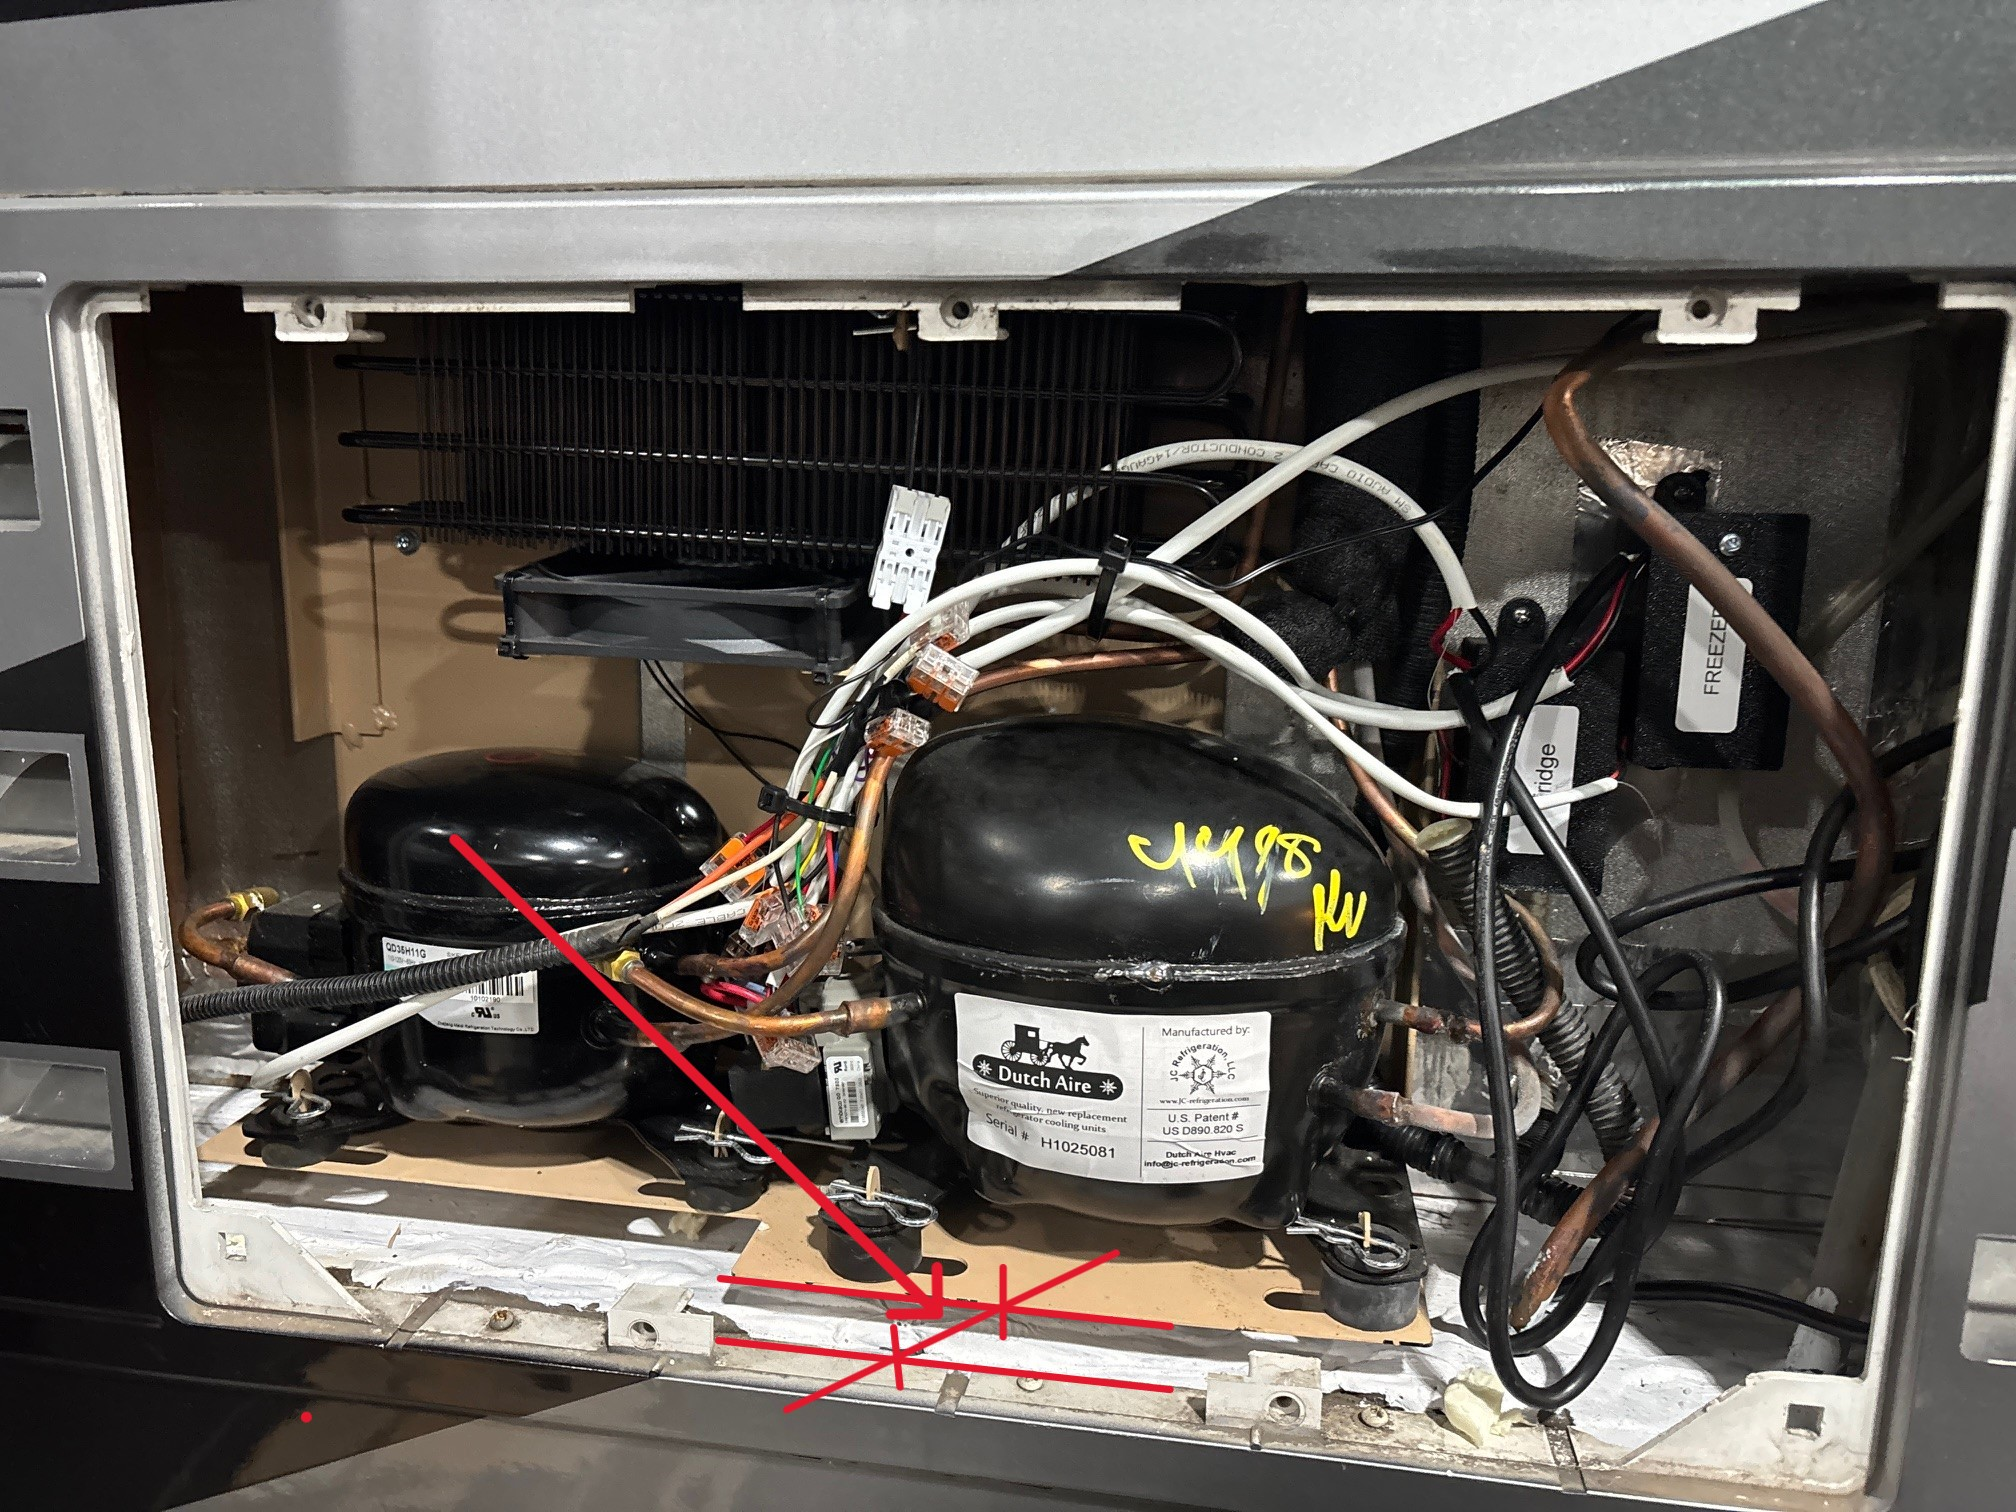
That left me with two choices: convert to a residential refrigerator or replace the cooling unit. I decided to go with a replacement and ordered a new unit from JC Refrigeration. It showed up a few days later.
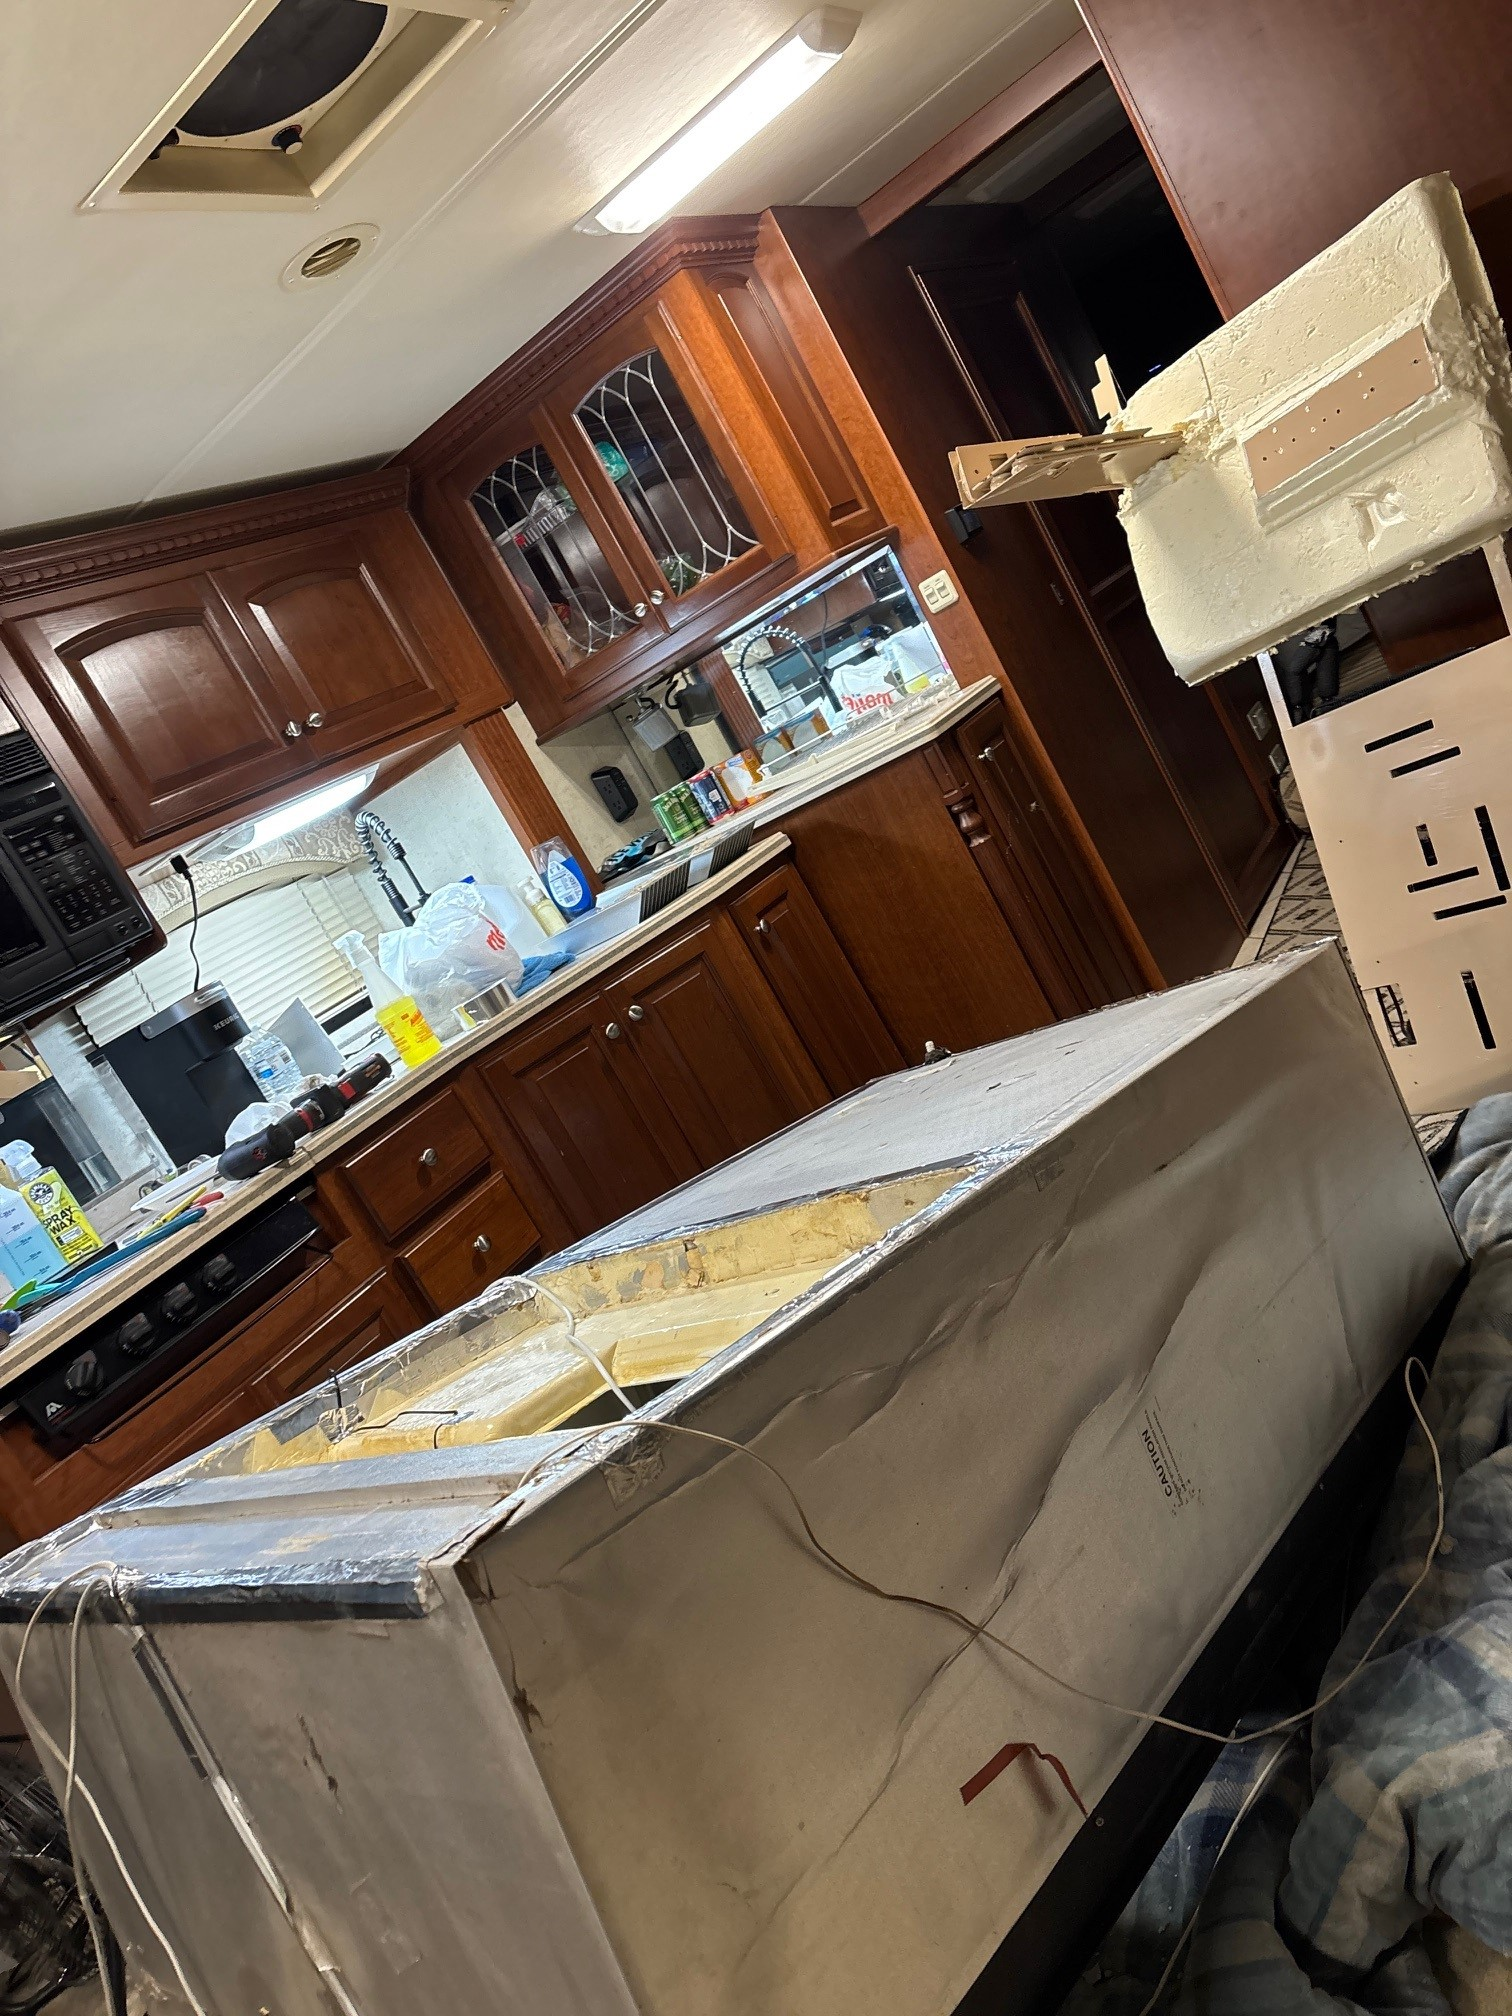
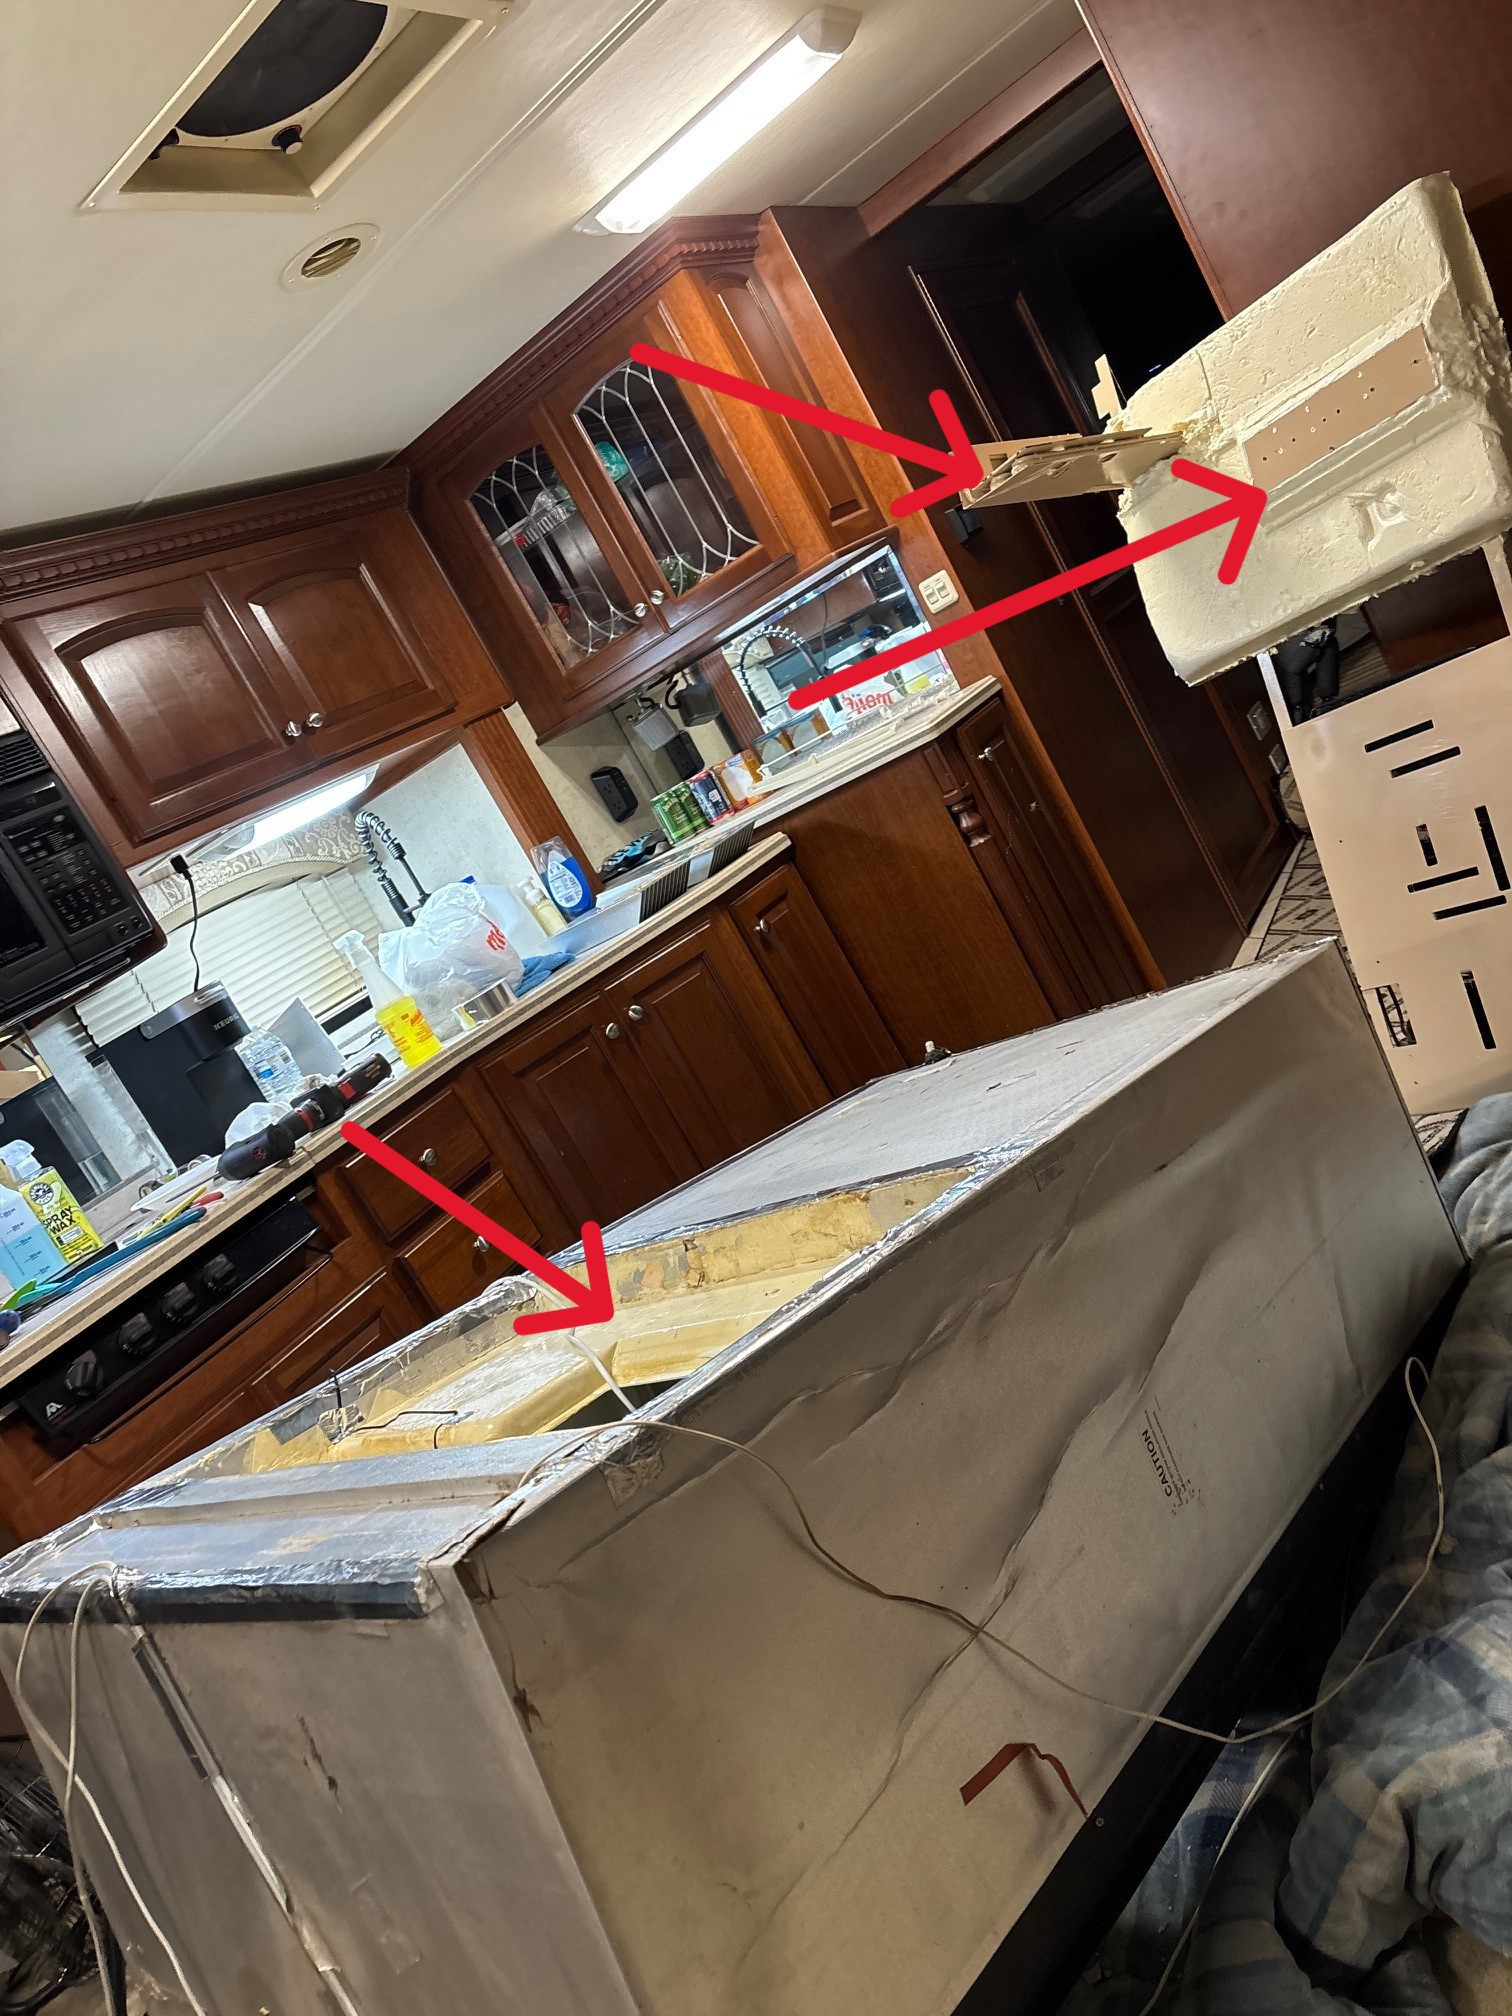
Pulling the refrigerator out by myself was a chore. Anyone who’s done it knows it’s awkward, heavy, and not designed to be a one-person job. I removed the old cooling unit, followed their instructions, installed the new unit, and put the refrigerator back in place.
At first, everything looked good. The fridge started cooling down like it should — and then it didn’t. After a while, temperatures started climbing again.
After several phone calls back and forth with their tech support, we came to the conclusion that the unit itself was bad. They sent me a replacement and told me to scrap the original one.
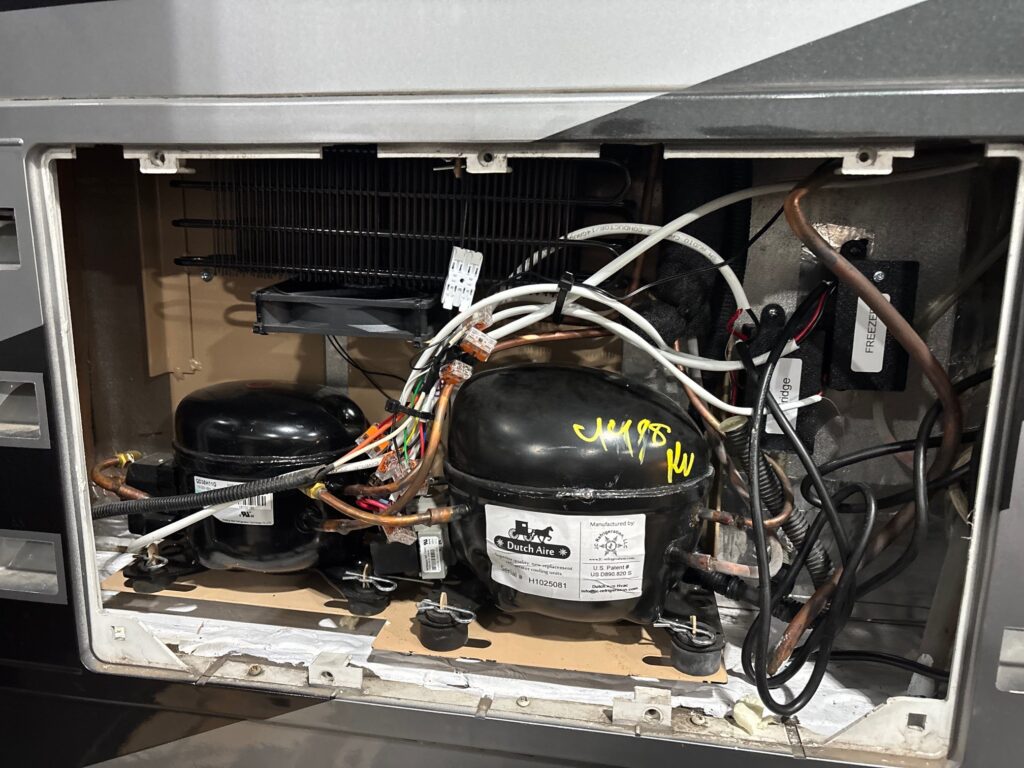
I installed the second unit, expecting the issue to be solved, but to my surprise it did the exact same thing. More phone calls followed, including conversations with the owner. At one point, he suggested the system might be low on refrigerant. Other techs said that wasn’t possible.
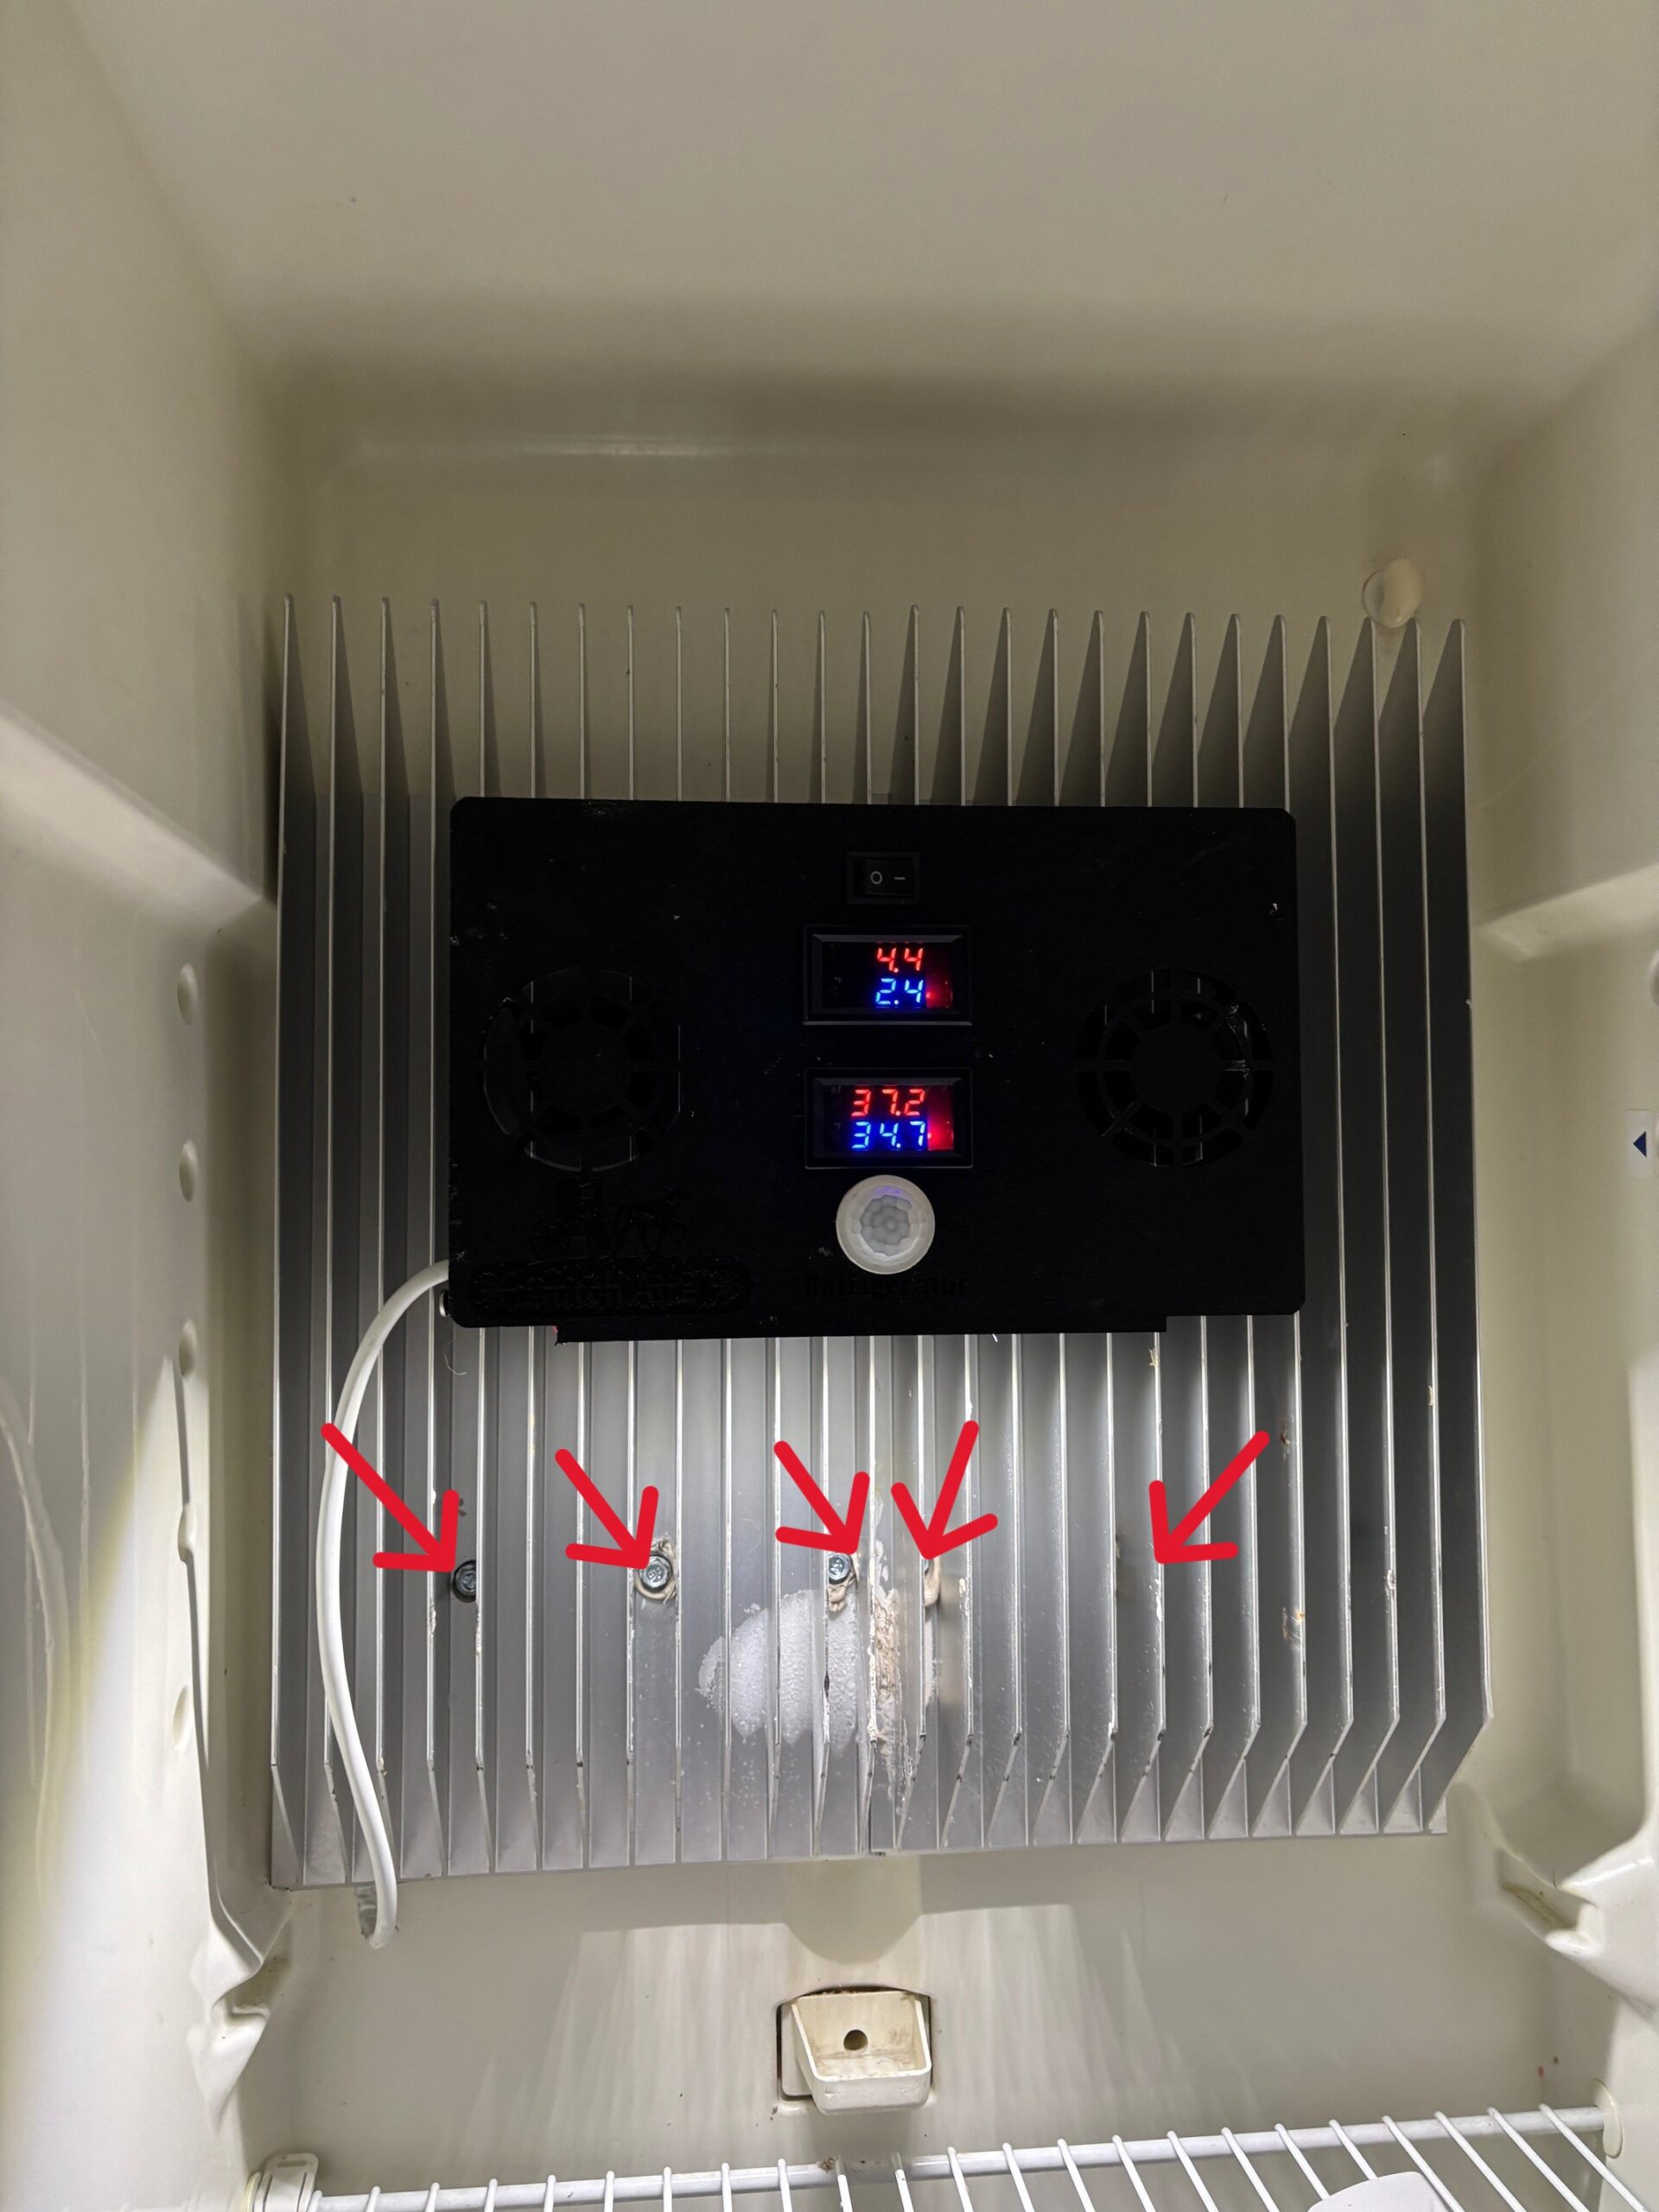
At that point, I decided to test it myself. I bought a pound of refrigerant, ordered fill lines, used a scale, and carefully added refrigerant to the system.
That was the fix.
The refrigerator has been working flawlessly for the past six months.
Would I do it again? Absolutely. JC Refrigeration makes a solid product and offers a great solution for RVs that rely on ammonia absorption cooling. I’m not upset with them — this felt like a production oversight, not negligence. Sometimes things slip through, and this just happened to be one of those cases.